Depending on the specific tools you want to sharpen and your level of experience as a woodcarver, there are many approaches to sharpening wood carving tools. It is crucial to sharpen your tools in the correct order, which is Sharpening-Honing-Sharpening-Stropping. The best method for sharpening wood carving tools is typically to use a sharpening stone. You can occasionally additionally sharpen your tools with a belt sander. How do you sharpen wooden tools?
In this article, we’ll address a number of queries on how to sharpen various wood carving tools and how to sharpen them. We would even provide you with advice on how to properly and successfully sharpen your instruments, while also explaining the distinction between honing and sharpening, among other things.
- Sharpening wood carving techniques
- A process of sharpening
- Honing
- A process of honing
- Types of blades
- How should a straight-bladed knife be sharpened?
- How to sharpen wood carving tools such as flat chisel
- Beginning in Step 1
- Step 2: Start sharpening once a burr forms, then stop
- Remove the burr in Step 3
- How is a scroll saw sharpened?
- How do you sharpen a wood carving gouge?
- Sharpening wood carving tools
- Cutting stones
- Sandpaper
- Materials needed
- Leather strops
- How often to sharpen wood carving tools?
- Last thoughts
Sharpening wood carving techniques
Knife sharpening implements are available in a variety of materials and shapes to fit any curved blade. A sharpening stone, sandpaper, and leather strops are the three basic categories of sharpening instruments.
The first thing you should do if your carving tools have worn or chipped edges is to straighten them up. It is not necessary to conduct this procedure frequently, but if a piece of an edge is removed, it must be straightened out before any further sharpening is done.
The edges of your gouges will be precisely straightened if you do this process with a horizontal belt sander and a 150-grit disk.
Be especially cautious when using power sanders for sharpening tasks. The blade’s temper can be broken by the heat produced by the disk’s fast speed, which produces a large amount of heat quickly.

A process of sharpening
Once the edge has been straightened, the tool might have a roughly sharp edge. Use 320-grit aluminum oxide and the horizontal belt sander for this task. Throughout this process, keep the water container nearby and keep dipping the edge into the water every few seconds. Chisels and parting tools, which have straight edges, are sharpened directly over the platen with the edge parallel to the direction of the belt.
If you’re sharpening a curved gouge, place it over the open area between the front roller and the end of the platen. The gouges and parting tools are on one belt sander, while the carving chisels are sharpened on both sides.
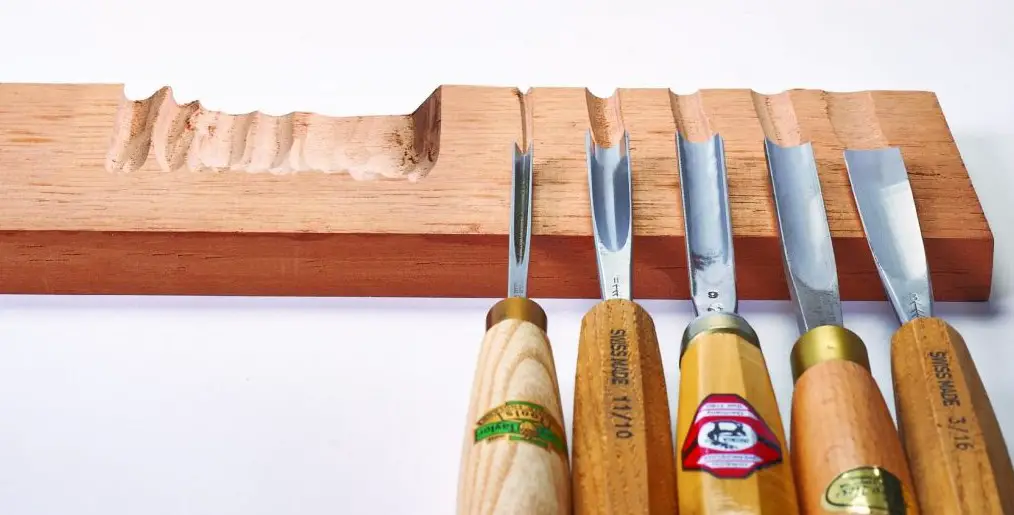
Honing
It’s time to start sharpening once you’ve produced a roughly sharp edge. We will make the blade sufficiently sharp for use through the honing procedure. Sandpaper that has been adhered to a glass surface can also be used for this technique, as well as sharpening stones.
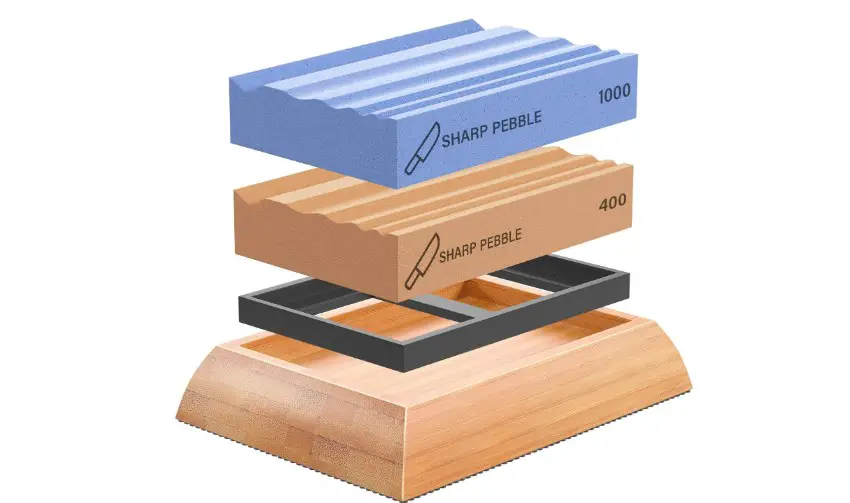
Oil stones, water stones, ceramic stones, and diamond stones are the four different varieties of sharpening stones. Oil is used as a lubricant in oil stones to prevent the tiny metal particles produced during the sharpening process from becoming embedded in the stone’s surface. Water is used as a lubricant for water stones, but lubricants are not needed for ceramic or diamond stones. Sharpening carbide wood carving tools are most frequently done with diamond stones.
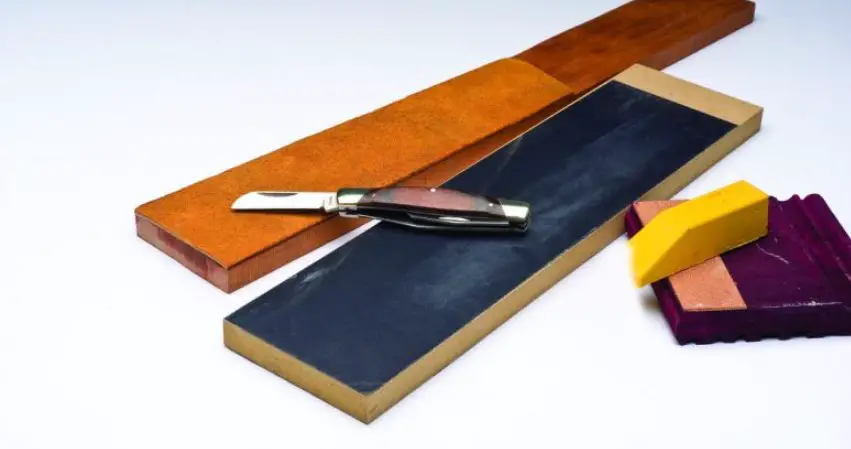
A process of honing
A beautiful sharp edge can be achieved by simply dragging the chisel’s edge across the sharpening stone or sandpaper from one side to the other. The dragging motion is carried out perpendicular to the edge of the instrument for those with straight edges.
Gouges require a little more effort since the edge must be wiped over the sandpaper in a rolling motion while moving sideways (in a direction parallel to the cutting edge).
The motion is initiated by placing the near side of the gouge on the opposite side of the paper, followed by dragging and rolling the gouge in your direction.
Types of blades
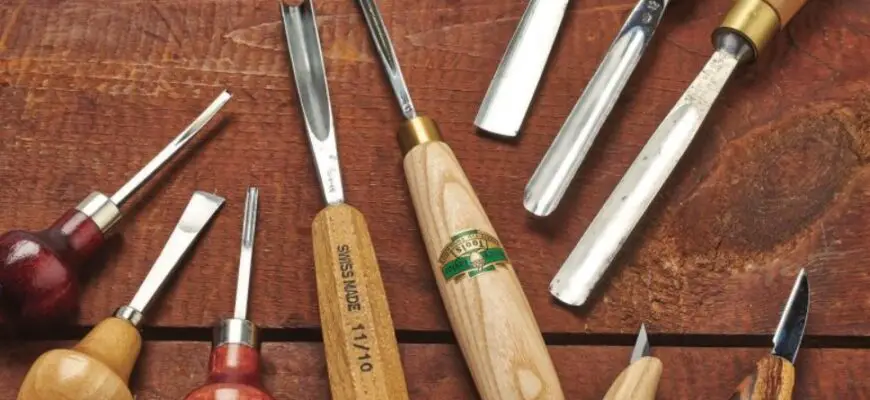
A gouge or a hook knife, for example, has a curved blade while a whittling knife has a straight blade. Whether you are sharpening a single-edged or double-edged blade is another crucial consideration (a blade with two cutting edges). Thus, how do you sharpen wood carving blades?

How should a straight-bladed knife be sharpened?
Straight blades, like those on a carving knife and a whittling knife, are simple to sharpen. The technique is the same for both types of sharpening tools: gently rubbing the blade edge on the honing or sharpening material.
A wood carving knife can be sharpened using a variety of methods and sharpening instruments. The most typical method is to use a whetstone, but alternative techniques, such as sharpening a carving knife with a leather strop and sandpaper, are also quite useful and worthwhile to know.
The technique you go with is completely up to you; the point is to get the carving knife’s edge razor-sharp and ready for use.
How to sharpen wood carving tools such as flat chisel
The bevel on a wood carving chisel differs slightly from that on a carpenter’s chisel. This chisel has 20-degree bevels on both ends. The chisel is used by woodcarvers to shave wood. Paring is the term for this. It can also be used to scrape and chop wood. Four fundamental methods for carving wood with chisels are covered in our article on chisels.
They enable the creation of straight lines in relief carvings and the smoothing of the surface of rounded shapes.
We would demonstrate how to use a sharpening stone to sharpen a chisel, which is similar to honing a wood carving knife.
Beginning in Step 1
Start by misting the sharpening stone with a few drops of water. This will guarantee that the stone is well-lubricated. Hold the flat chisel at a 20-degree angle to the stone while it is placed on a flat surface.
Step 2: Start sharpening once a burr forms, then stop
Once you’ve managed to bring the cutting edge of the flat chisel as close to a 20-degree angle as you possibly can, drag it across the sharpening stone. Once there is a burr along both edges of the chisel, move on to the next step.
To check for burr formation, slowly glide your fingers down the chisel’s cutting edge. You’ll be able to feel the roughness if the burr is there.

Remove the burr in Step 3
You’ll need a leather strop to remove the burr.
Simply move the blade’s cutting edge across the strop, then flip the chisel over and repeat the process on the other side until all of the burrs have been removed. To determine if all of the burrs have been removed, repeat the burr test on your fingertips.
How is a scroll saw sharpened?
Because of its unique edge, some artisans find it difficult to learn how to sharpen such wood carving tools as a hand saw. Sharpening a hand saw simply requires a few extra steps and follows the same general formula as sharpening any other blade.
The saw must first be held securely with a bar clamp and with the teeth facing up. Sharpen all of the teeth’s tips evenly with a large sharpening stone before individually sharpening each tooth with a small sharpening stick. It is simple to learn how to use a stone to sharpen wood carving tools, but using sandpaper or a leather strop is even simpler.
How do you sharpen a wood carving gouge?
My preference is to use sandpaper that has been pasted to a cylinder when discussing how to sharpen wood carving tools as gouges (sharpening carving chisels, or any slightly bent or curved blade). When the blade is shaped like a cylinder, it is quite simple to follow its curve and softly strop it in the direction of the curing edge.
Wood carving tool sharpening is a simple operation that doesn’t call for much physical effort. Use as little pressure as possible when sharpening the instrument to avoid injuring the blade. Repeat the process until the edge is razor-sharp.
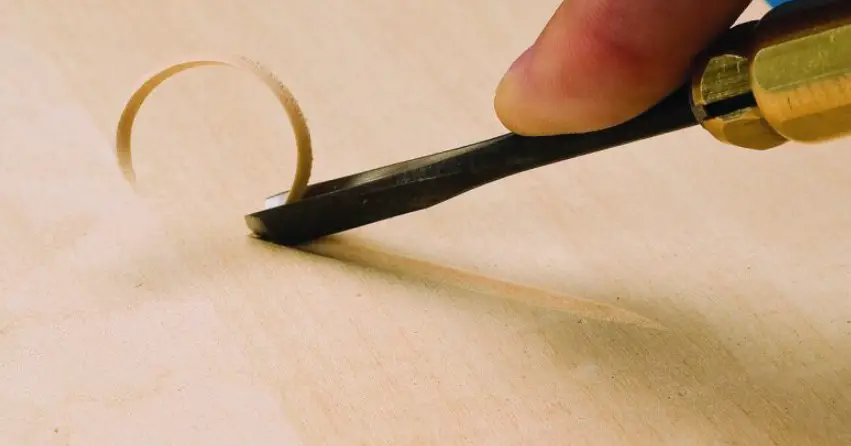
Sharpening wood carving tools
How do you sharpen curved carving tools? When sharpening carving tools at home, there are two main processes to follow. A stone made specifically for this usage is used in the first stage. This method is used when your blade needs a lot of maintenance and has grown incredibly dull.
“Stropping” is the name of the second technique. In order to keep your instruments as sharp as possible without harming the blades, you’ll strop more often and frequently.
Cutting stones
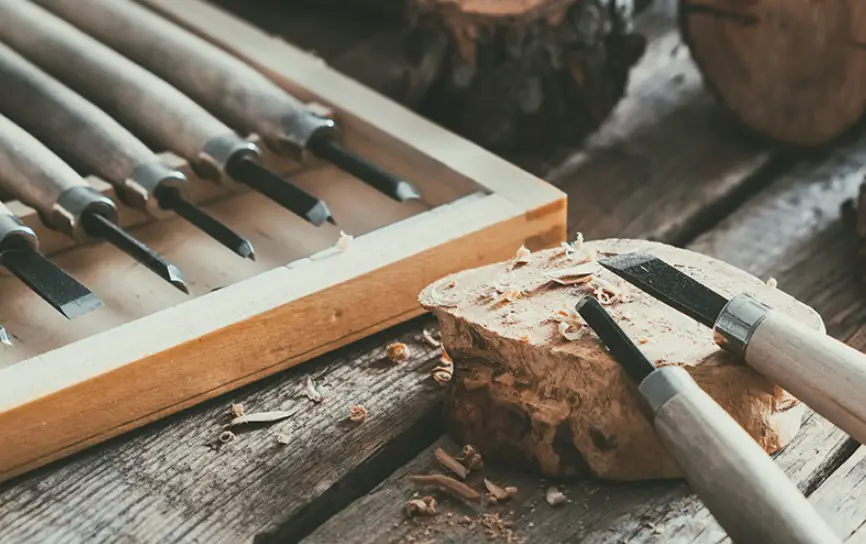
Sharpening stones, either natural or synthetic, are used to hone dull wood carving tools. They are constructed from silicon carbide, aluminum oxide, or novaculite. A sharpening stone can be used to sharpen your blade in one of three ways:
- Making circular motions with the stone over the blade edge;
- Pulling the stone towards you along the blade edge;
- Pushing the stone away from you (this is the most typical type).
As long as you have the correct sharpening carving tools, learning how to sharpen wood carving tools using a stone is rather simple. For wood carving tools, it is worthwhile to spend money on sharpening stones of superior quality that offer several grit options for various phases of the process.
For the first stage of blade sharpening, the Schaaf Tools 400/1000 Grit Diamond Sharpening Stone features a 400 grit surface, while the second step, which requires a less abrasive touch, uses a 1000 grit surface.
- Start sharpening on a medium-grade grit if your instrument is very dull, to effectively flatten the bevel and smooth out any abnormalities along the blade.
- For a cutting edge, complete the sharpening using a fine-grit stone.
- A fine grit surface can also be utilized for periodic maintenance when the blade is not extremely dull.
- When holding the blade against the stone, choose the approach that seems the most natural to you. Push the knife away from you as though you’re trying to cut a slice off the surface of the stone, and position the blade nearly flat (imagine there is a dime under the back edge). Another technique is to place the knife on the edge of the stone that is farthest away from you with the sharp edge facing away, place your imagination beneath the knife’s back edge, and pull it towards your direction.
Sandpaper
Sandpaper’s flexible yet sturdy construction makes it a popular tool for honing curved blades. There are many grits of sandpaper, depending on whether you need to polish the cutting edge to be sharper or use a powerful sanding to even out a blade edge that might be damaged. This is the best method for beginners, too. Why?
Cost is the key justification. Each nice water stone might cost up to $100 (you should have several of various grits). A sheet costs less than $2. However, this is not a fair comparison. A water stone will last for years; on the other hand, you will need to buy lots of sandpaper and replace it when it becomes worn out. But ultimately, using sandpaper is much less expensive.
Second justification: Ease. The sandpaper technique is really simple.
Third justification: For the majority of us, using sandpaper to create cutting edges will result in the sharpest cutting edges we have ever used.
Materials needed
What sandpaper grits you require will depend on the state of your instruments and the quality of edge you want. What I have in my shop is shown in the picture. Three of these, either 600, 1200, and 2000, or 800, 1500, and 2500 should be plenty; you won’t need all of them.
These are most frequently found in auto supply stores and a few hardware stores. You may purchase the super fine grit paper at an auto paint and body shop. Black “wet or dry” paper will be used throughout. Buy a sheet or two of 2500 grit if you want to take it a step further; anything higher will be more difficult to locate.
Leather strops
The softest of the three tool kinds, leather strops are frequently used for honing and polishing. A leather strop might simply be a piece of leather that has been fastened to a wooden block or a paddle for convenience. Depending on the amount of grit you require, you can spread various substances on the strop. The green honing compound is the most popular.
Other than these three primary tool kinds, electric tools work on the basis that you press the cutting edge against a rotating piece of sandpaper or a strop while it rotates. This approach for sharpening wood carving tools is less popular and is more frequently employed by woodworkers to sharpen larger blades than carving tools.

How often to sharpen wood carving tools?
Your need to sharpen your wood carving tools depends on how often you use them. If you carve a lot of wood as opposed to little or no wood, your wood carving tools will lose their sharp edge more quickly. We advise you to sharpen your wood carving tools if you observe them performing poorly.
Additionally, you must examine every tool in detail. It’s okay if some tools aren’t utilized as frequently as others. Last but not least, you may tell if a tool needs to be sharpened by visually scrutinizing it.
Last thoughts
Owning your own wood carving tool and learning how to use it is a perk if you carve a lot. You wouldn’t have to put finishing off unfinished tasks as you awaited a qualified tool sharpener.
Additionally, it will enable you to avoid spending money on new tool purchases. We’d also like to emphasize the fact that you should never carve using a dull piece of wood carving equipment. Using dull tools to carve will only result in harm.
We appreciate you reading our article and hope you found wood carving tools sharpening interesting. Now, when you know how to sharpen wood carving tools, you can enjoy your hobby more!
Read also: Does wood glue go bad? Several recommendations

![Sapele vs. walnut wood [5 main differences] Sapele Vs. Walnut Wood: Top 5 Differences & Best Guide](https://bestwoodforcarving.com/wp-content/uploads/2024/01/wood-53-335x220.jpg)
![Mango wood furniture pros and cons [9 tips] Mango wood furniture pros and cons + 9 tips before you buy](https://bestwoodforcarving.com/wp-content/uploads/2024/01/wood-51-335x220.jpg)
![Which advantages and disadvantages of hickory wood? [8 factors] Top 8 Disadvantages Of Hickory Wood: Best Helpful Guide](https://bestwoodforcarving.com/wp-content/uploads/2024/01/wood-38-335x220.jpg)

![How Long Do Wood Pellets Last? [6 Essential Insights Unveiled] How long do wood pellets last](https://bestwoodforcarving.com/wp-content/uploads/2023/12/How-Long-Do-Wood-Pellets-Last-6-Essential-Insights-Unveiled-2-335x220.jpg)
![Tung oil vs polyurethane [4 main comparison factors] Tung Oil Vs Polyurethane: Top 4 Factors & Best Helpful Guide](https://bestwoodforcarving.com/wp-content/uploads/2023/12/wood-14-335x220.jpg)
![Is tung oil flammable? [7 Preventive measures] Is Tung Oil Flammable: Top 7 Safe Tips & Best Guide](https://bestwoodforcarving.com/wp-content/uploads/2023/12/What-is-a-Wood-Planer-3-335x220.jpg)