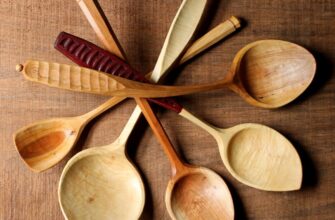
Are you still thinking of wood carving as a new hobby, but can’t dare start it? If so, stop hesitating and try it right now! Wood carving is not as complicated as you can think. This awesome hobby is not a great way to express your creativity, but also a good job calming down.
All that you need for a good start is to get the basic wood carving tools and some beginner wood carving projects. Here, we are to share several step-by-step woods carving patterns for beginners.
- How do you make a wood carving step by step?
- How do you transfer patterns to wood carving?
- What is the easiest thing to carve in wood?
- What carving tools and other items do you need?
- Pencil/pen/marker
- Protective gloves
- Power tools (optional)
- What is the easiest wood to carve by hand?
- What are the best beginner wood carving projects?
- Wooden spoon
- Wooden bowl
- Wooden cat
- Step-by-step guide
- Wooden gnome
- Wooden rabbit
- Wooden wizard
- Wooden flower
- Wood spirit
- Wooden chopsticks
- Willow whistle
- Step-by-step guide
- Wooden heart
- Where to use wood carving projects?
- Final thoughts
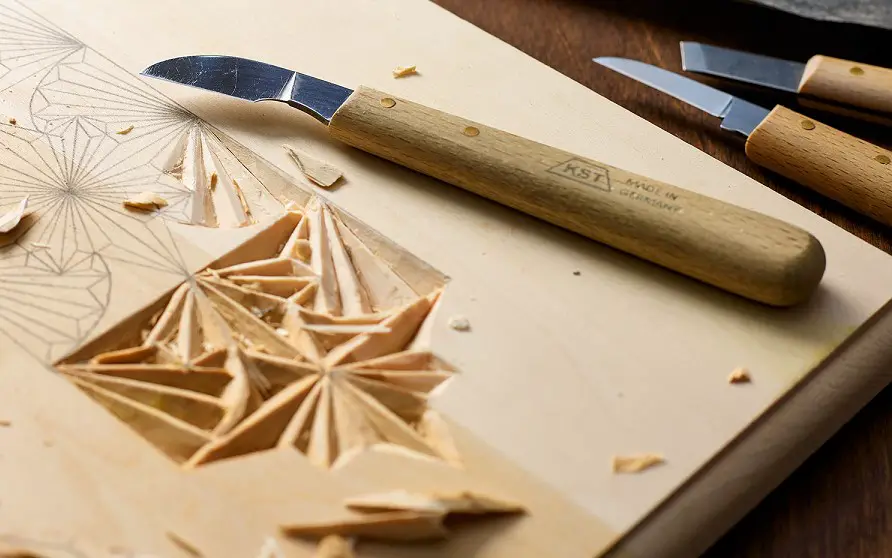
How do you make a wood carving step by step?
To get and hone your wood carving skills, start with some easy wood carving beginner projects. They don’t require lots of complicated steps, but are still quite challenging and help you to learn.
There are several basic steps that you should follow when wood carving:
- Step 1: Gather all the tools and items you need. Before you start, make sure that you have everything from the checklist of tools and items.
- Step 2: Choose the best wood for carving. Softwoods are the best options for the beginner so that you lessen the risk of mistakes and injuries in the process. Moreover, it helps you to understand how carving wood works and shows you the nature of the wood.
Basswood, butternut, white pine, black walnut, balsa wood, paper birch, and some others are the most popular among beginners.
- Step 3: Get a picture of your carving pattern. You can find great wood carving designs online, or draw your own sketch.
You can find lots of online projects and easy patterns for whittling, chip carving, relief carving, wood burning, and many other types of art.
- Step 4: Transfer the carving patterns to the wood. This will help you to border the lines for your carving patterns. Make sure that your wood chunk is bigger than the sketch!
- Step 5: Mark the stop cuts. These are the key points of your pattern that border its lines. Now, you can see how much excess wood you should remove, and how much you have for working.
- Step 6: Start with a basic shape. Remove the excess wood from the piece to form a rough shape of your pattern. Use a sharp knife and chisels to form your basic design. For the best results, use V- and U-gouges.
- Step 7: Work on the details. Start making your pattern more clear and detailed. Slowly form the small details if there are some in the chosen design. Focus on different shapes and small curves, using a sharp whittling knife and U- or V-gouges. To make the pattern smoother, use chisels.
- Step 8: Sand the whole design. To get rid of some rough strokes, sand your whole wooden design with sandpaper. The coarseness depends on the type of wood that you are working with, and the size of your project.
- Step 9: Polish your finished project. Polishing is essential as it makes your wooden design look shiny and natural. Cover your wooden project with a good wood finish to make it complete.
- There are different types of wood finishes that you can choose from. The most popular are Danish oil, paste wax, or some wood finish oils, such as linseed oil or olive oil.
- Use a food-safe finish for the kitchen utensils made of wood, such as spoons or bowls!
How do you transfer patterns to wood carving?
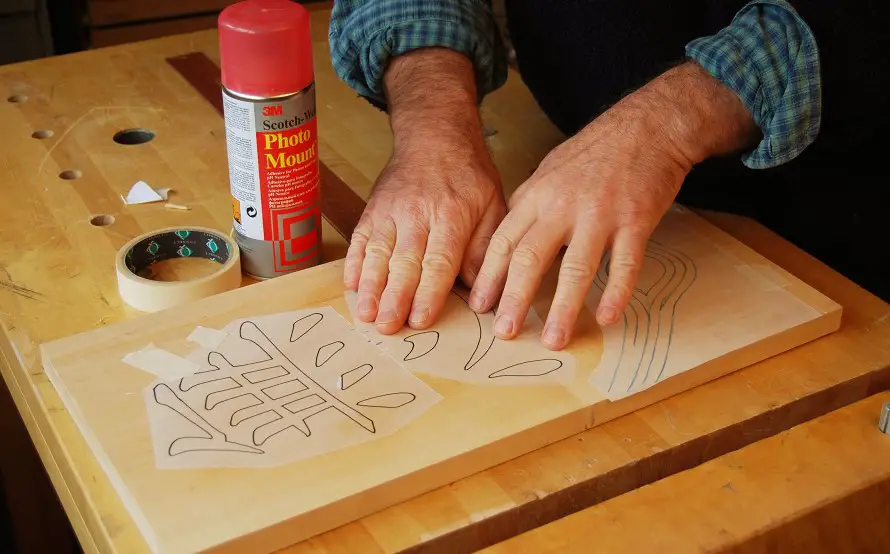
The 2-D designs are your best helpers in transferring the patterns to the wood. In other words, these are pictures or sketches on paper, which you should transfer to the wood surface.
To copy your sample on the wooden block, use a pencil and transfer paper.
However, if you are good at drawing, you can just do it by yourself. A benefit of hand drawing is that you can customize the size of your pattern.
What is the easiest thing to carve in wood?
For those who are new to carving wood, the great wood carving ideas that you can find on the websites like Pinterest, seem to be too cocky. And that is the main mistake when beginners try to start carving something big and complicated.
For your first wood carving project, opt for a small and easy item. Wooden spoons are the most popular and easy wood whittling projects for beginners. Then you can proceed with other wood carving projects that are a bit more complicated. Increase the difficulty levels step by step so that you can hone your whittling skills.
There are lots of free wood carving patterns that you can find online and try to embody by yourself.
One more point is to find the easiest wood that you can work with.
What carving tools and other items do you need?
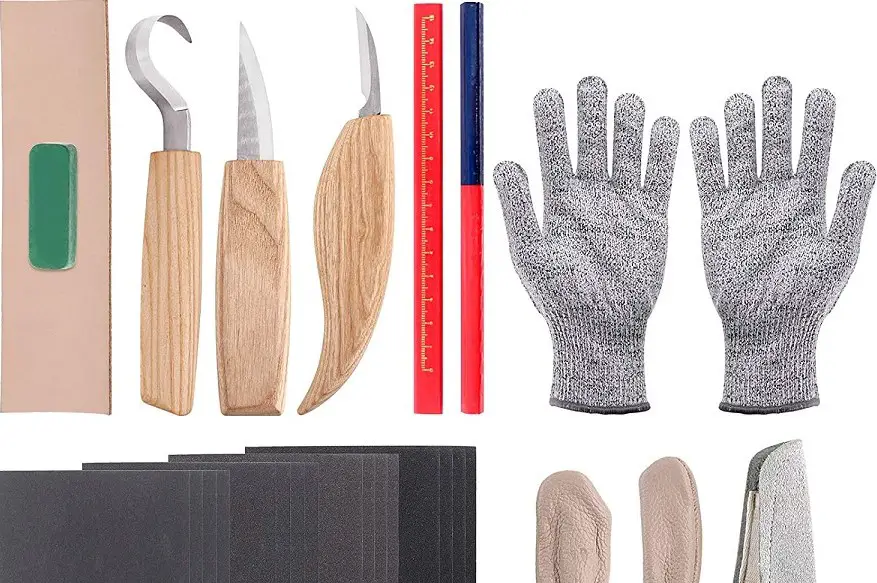
Here are some more tools that you need when working on your whittling projects:
Pencil/pen/marker
To transfer your wood carving patterns to the wood chunk, you need a pencil, a pen, or a marker. If you use a printed sample, transfer it to the wood with a help of transfer paper. If you are good at drawing, just do it yourself.
Protective gloves
As carving wood always includes some risk of damage and injury, don’t forget to wear protective gloves before you start working.
Power tools (optional)
As well as the hand tools, you can use electric tools for carving. Some wood carving patterns require certain tools and nozzles to perform the desired shapes.
What is the easiest wood to carve by hand?
For wood carving by hand, the best idea is to choose softwoods that are easy to work with.
Basswood is the most popular kind of wood for beginner wood carving projects. Because of its soft and crisp texture that is easy to work with, it is the best wood for beginner wood carving projects.
However, for wood carving masters, basswood is popular as well.
Basswood is full of benefits. Along with the nice texture, it seldom warps and makes great wood carving patterns. Moreover, it is cheap and easy to get at the craft store. If you are looking for something super-easy to work with by hand, opt for the basswood wooden blocks.
Here are some other types of wood that are easy to wood carve:
- Aspen
- Balsa wood
- Beech
- Birch
- Black walnut
- Butternut
- Cedar
- Cherry
- Greenwood
- Limewood
- Maple
- Poplar
- Sycamore
- Willow
- White pine
What are the best beginner wood carving projects?
When looking for a wood carving pattern to start with, it is often difficult to choose something beginner-friendly. The key point is to start with the basic shapes, and then proceed with many complicated patterns to get and hone your new carving skills.
Here is the list of the most popular wood carving projects:
- Wooden spoon
- Wooden bowl
- Wooden cat
- Wooden bird
- Wooden fish
- Wooden fox
- Wooden bear
- Wooden owl
- Wooden elephant
- Wooden flower
- Wooden rabbit
- Wooden gnome
- Wood spirit
- Wooden wizard
- Wooden whistle
- Wooden mushroom
- Wooden chopstick
- Wooden chess
- Wooden heart
- Wooden kuksa cup
- Whiskey barrel
- Walking stick
Now, we are going to tell you about some of these wood carving projects in more detail.
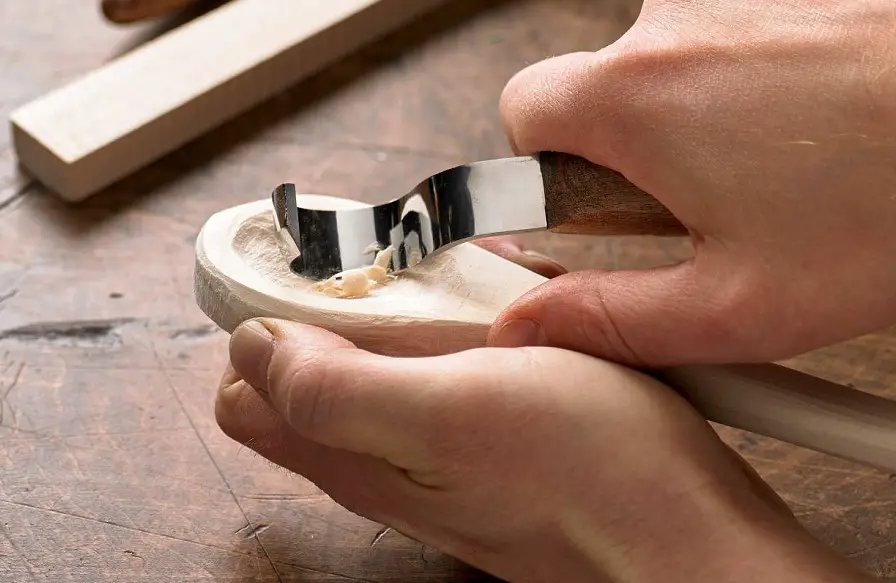
Wooden spoon
Spoon carving is the best of beginner wood carving projects. Since you are just learning wood carving, spoon carving is good for working with the simplest and flat shapes.
Wooden spoons are so versatile in many senses: you can try many decorative methods of them, which helps you to learn new techniques and make your spoon carving fancier. Once you try a new shape of wood, you will probably want to try something different.
When you are done, you can make use of wooden spoons: for selling, for giving as a gift, and just for yourself.
Estimated time: 2 hours
The best types of wood:
- Apple
- Black walnut
- Cherry
- Maple
- Paper birch
- Poplar
Carving tools and items:
- Carving knives (with a straight knife and rounded or sweep gouge)
- Axe
- Wood chunk (larger than the desired spoon’s size)
- Pencil/pen/marker
- Wood finisher (if the spoon will be used for eating, use a food-safe finisher)
- 120,220, 400 grit sandpapers
Wooden bowl
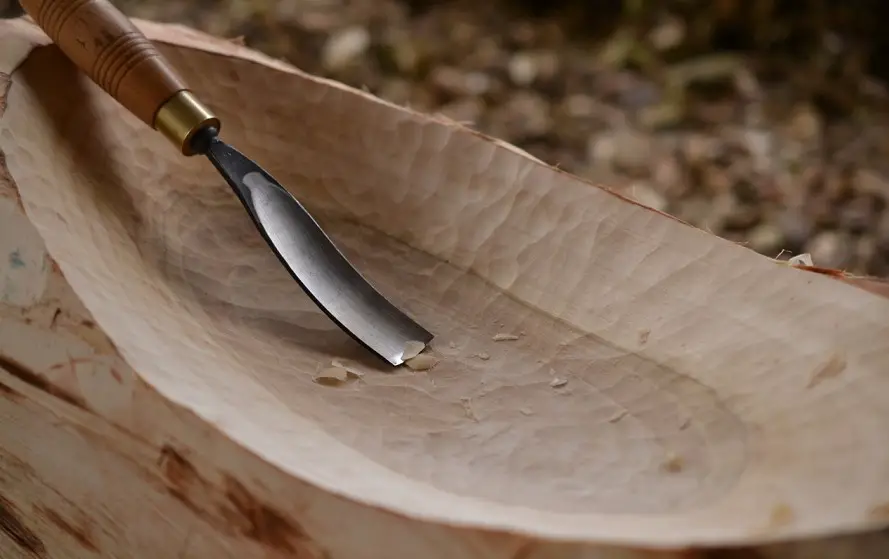
Wooden bowls are one more must-do among beginner wood carving projects. You can try many decorative wood carving patterns when making wooden bowls. In addition, you can try different shapes: don’t stop on the ordinary round wooden bowl!
To finish the wooden bowls, use a food-safe wood finish if you are going to use them in your kitchen.
Estimated time: 2 hours
The best types of wood:
- Basswood
- Balsa wood
- Beech
- Butternut
- Cedar
- White pine
Carving tools and items:
- Whittling knife
- Roughing Knife
- Wood chunk (larger than the desired bowl’s size)
- Pencil/pen/marker
- Danish oil
- Protective gloves
- 220 grit sandpaper
Wooden cat
Carving a cat is a simple but very useful carving project for beginners. Since you can carve a cat out of a simple wooden block, it can’t be difficult for those who are new to wood carving.
However, there are many important wood carving techniques to learn when carving a cat. A wooden cat is the best of the relief wood carving patterns for beginners.
Besides, a wooden cat itself is a lovely figure, so you will enjoy the process of wood carving. Isn’t it the best motivation to keep going in your wood carving life?
Thus, a wooden cat is one of the best basic projects.
Estimated time: 40 minutes
The best wood types:
- Basswood
- Balsa wood
- Beech
- Butternut
- Cedar
- White pine
Carving tools and items:
- Whittling knife
- Roughing Knife
- Wood chunk (larger than the desired cat’s size)
- Pencil/pen/marker
- Danish oil
- Protective gloves
- 220 grit sandpaper
Step-by-step guide
- Print or draw a simple sketch of the cat’s figure and transfer it to the wood chunk.
- Mark the stop cuts and outline the body shape.
- Rough the shape of the body details. Carve the back of the cat’s head.
- Make the cat figure more detailed. Add the ears and the cattail.
- Carve the smallest details, such as nose and whiskers.
- Finish the touches and sand the wooden cat figure.
- Finish your wooden cat with Danish oil, or paint any colors you wish.
Wooden gnome
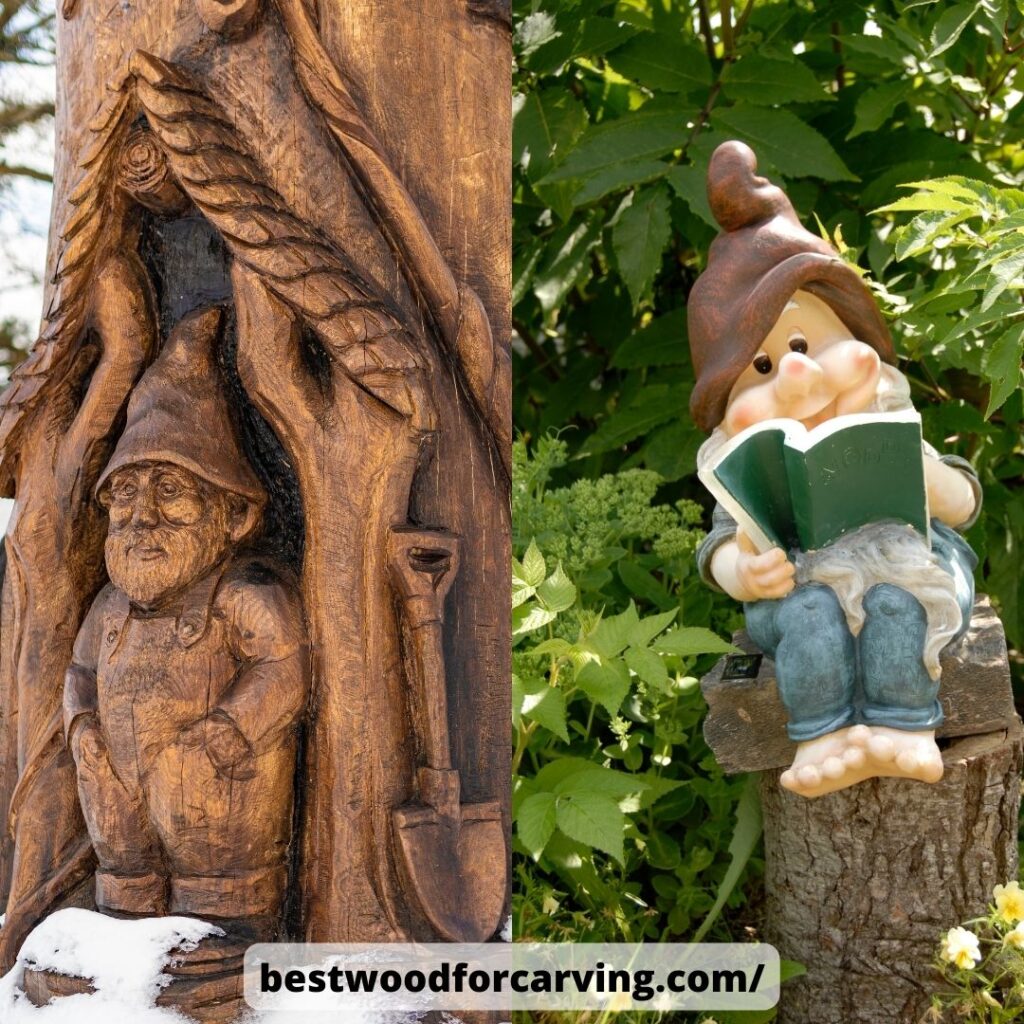
At first sight, a wooden gnome is a challenging figure for wood carving. Just look at how many different curves, shapes, and sharp edges it has! However, wooden gnomes are one of the best beginner wood carving projects that can help you to learn so many new things and improve your skills.
Keep in mind that wooden gnomes are not a good idea for your very first wood carving project. It is better to start with something easier, such as a wooden spoon. When you can create basic things out of wood, proceed with wooden gnomes to hone your wood carving skills.
Estimated time: 60-80 minutes
The best wood types:
- Basswood
- Birch
- Cherry
- Limewood
- Maple
Carving tools and items:
- Carving knife
- Wood chunk (larger than your desired size of gnome)
- Safety tape
- Pencil/pen/marker
- Chisels
- Protective gloves
- Oil- or water-based paint or wood finish
Wooden rabbit
Making a small rabbit out of wood is a fun project. Wooden rabbits are easy to create for beginners. Whittling or knife carving is the method to complete this project.
A finished wooden bunny can be a great gift for your family and friends, or a nice decorative element in your room.
Estimated time: 30 minutes
The best types of wood:
- Aspen
- Basswood
- Balsa wood
- Butternut
- Cedar
- White pine
Carving tools and items:
- Sharp whittling knives with a straight knife
- Wood chunk (larger than the desired rabbit’s size)
- Pencil/pen/marker
- Wood finisher (olive or linseed oil)
- Protective gloves
- 220 grit sandpaper
Wooden wizard
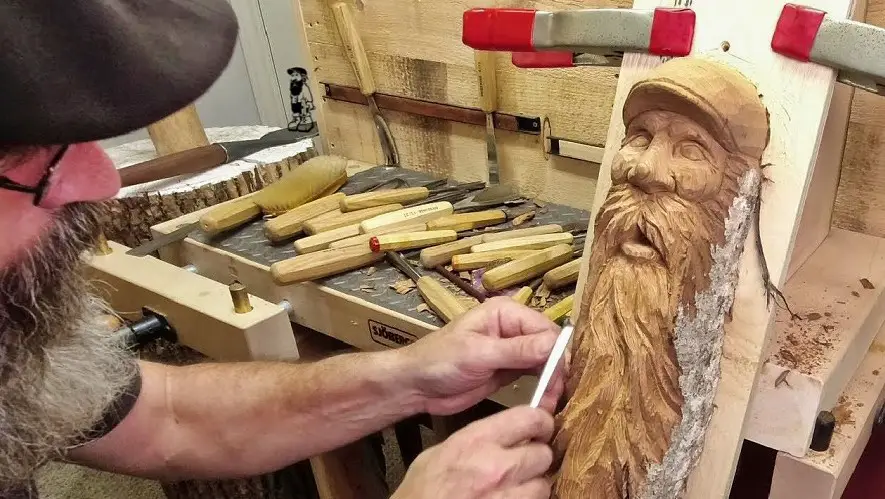
This project is often called “a 5-minute wizard” as you can make all the basic stop cuts just in five minutes! However, the whole work takes about half an hour.
A wizard’s head looks cool, as you can learn how to create people’s faces out of wood. Besides, this project can bring some magic and witchcraft to your home. So, what about a wooden Merlin or Albus Dumbledore in your room?
Estimated time: 30 minutes
The best types of wood:
- Aspen
- Basswood
- Balsa wood
- Butternut
- Cedar
- White pine
Carving tools and items:
- Sharp whittling knives with a straight knife
- Wood chunk (larger than the desired wizard’s size)
- Pencil/pen/marker
- Small V-gouge (optional for better beard shaping)
- Protective gloves
- Thumb guard
- 220 grit sandpaper
- Wood finish (linseed or olive oil)
- Paintbrushes
Wooden flower
A flower made out of wood is one more great project for any beginner. When carving a flower, you can try to practice different methods. The more methods you use, the more realistic wooden flowers you will get.
When whittling a flower, it’s better tomaintain the cutting angle at 85 degrees than 90 degrees. It helps you to correct the mistakes if you make some in the process. After you complete the piece by cutting 85 degrees, proceed with the final cut of 90 degrees.
Estimated time: 30 minutes
The best types of wood:
- Basswood
- Balsa wood
- Beech
- Butternut
- Cedar
- White pine
Tools and items:
- Sharp whittling knives with a straight knife
- Wood chunk (larger than the desired flower size)
- Paper
- Ruler
- Pencil/pen/marker
- 220 grit sandpaper
- Wood finish (linseed or olive oil)
- Protective gear
Wood spirit
Wood spirit carving is one of the most popular wood carving ideas. It is similar to the wooden wizard project but has an even more enigmatic origin. Wood spirits are the ancient heritage of cavemen who used to create them for some purposes.
So, what is easy for a caveman, is definitely good for beginner wood carving projects.
Wood spirits can be easier or more difficult, depending on your skills and ideas. You can find a wood spirit carving tutorial online to understand the process better.
Estimated time: 1 hour
The best types of wood:
- Apple
- Basswood
- Birch
- Cedar
- White pine
Tools and items:
- Carving knife
- Wood chunk (larger than the desired spirit’s size)
- Pencil/pen/marker
- Dremel
- Protective gear
Wooden chopsticks
Carving chopsticks is a great choice for those who love oriental cuisine! And, of course, a good way to learn chip carving, shaping, and sharpening the wood.
You can make your chopsticks flat on four sides, or shape them into a circle with no edges. Since chopsticks are plain, you can also decorate them with cool curves and shapes.
Estimated time: 30 minutes
The best wood types:
- Aspen
- Basswood
- Birch
- Cherry
- Maple
- Walnut
- White pine
Tools and items:
- Whittling knife
- Wood chunk
- Ruler
- Pencil/pen/marker
- 120 grit, 220 grit, and 320 grit sandpapers
- Oil- or water-based finisher
Willow whistle
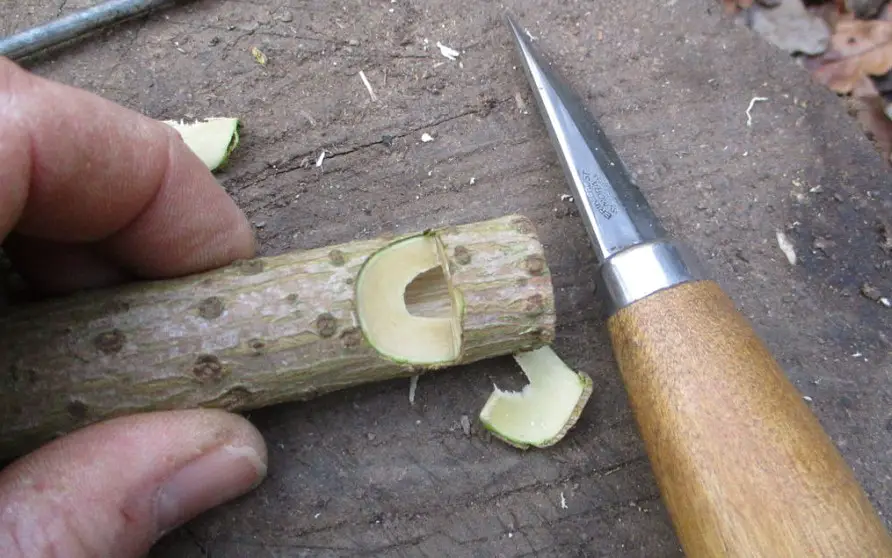
If you want to create something artistic out of wood, opt for this simple instrument! There are so many ways to carve wooden whistles, but the willow one is the easiest of them.
While you are just trying to learn wood carving, we can’t say for sure that your whistle will make a sound, since willow wood is not very friendly to whittle musical instruments. However, whittling a whistle out of the willow branches is a great learning project.
You will know how to shape and round the wood and create a hollow-type tube out of wood.
Although they are called willow whistles, these instruments can be made of some other types of wood. If you opt for the willow wood, get it in early summer or late spring, when you can easily remove the willow bark.
Estimated time: 60 minutes
The best wood types:
- Willow
- Basswood
- Birch
- Cherry
- Sycamore
Carving tools and items:
- Carving knife
- Wood chunk (larger than the desired whistle size)
- Pencil/pen/marker
- Protective gloves
Step-by-step guide
- Make a fine little cut in the wood bark. Come back about 1.2 in of this cut and score around the branch. This step will help you to ensure that you cut the bark.
- Turn the wood a little and crack the wood bark off. Be careful not to break the wood!
- After removing the bark, keep carving the whistle with a whittling knife. Make some small cuts and shapes to make your whistle look fancy!
Wooden heart
For a wooden heart whittling project, you need just some spare wood that you leave from the previous whittling projects! You can easily carve wood in the shape of a heart out of wooden leftovers. As a result, you will have a nice present for your nearest and dearest people!
Wooden hearts are easy to make as they don’t have many fiddly shapes and cuts. To make your hearty present look great, sand it and finish with Danish oil.
Estimated time: 30-45 minutes
The best types of wood:
- Basswood
- Balsa wood
- Beech
- Butternut
- Cedar
- White pine
Carving tools and items:
- Carving knife
- Roughing Knife
- Wood chunk (larger than the desired heart size; rectangular shape works best)
- Pencil/pen/marker
- Danish oil
- Protective gloves
- 220 grit sandpaper
Where to use wood carving projects?
When finishing your successful wood carving project, you will wonder where to use it. Great news, as wooden things are super-versatile! You can create them for selling, make great handmade gifts for your family and friends, or just make it for yourself.
A wooden kitchen is good both for use and for decorating your home design.
Wooden animals not only look fun but are also versatile in use. You can use a wooden figure as a desk statue, keyholder, or a creative Christmas gift.
Final thoughts
Fine woodworking is a great and useful hobby. All you need is some patience and practice. Follow these simple step-by-step guides, and you will see how enjoyable wood carving is!

![How Long Does Wood Siding Last? [3 Lifespan Secrets] How Long Does Wood Siding Last: The Best Guide 2024](https://bestwoodforcarving.com/wp-content/uploads/2024/01/How-Long-Does-Wood-Siding-Last-3-Lifespan-Secrets-335x220.jpg)
![Examine [5+ tools and techniques] to cut square hole in wood Cut Square Hole In Wood: 5 Best Ways To Do It Perfectly](https://bestwoodforcarving.com/wp-content/uploads/2024/01/cut-square-335x220.jpg)
![Burn, laser, tool, CNC, hand wood engraving [5 ways explained] Hand Wood Engraving And Other Best Ways To Work With Wood 2024](https://bestwoodforcarving.com/wp-content/uploads/2024/04/bestwoodforcarving.com_-335x220.jpg)
![How long for wood filler to dry? [Tips & Tricks] wood 26](https://bestwoodforcarving.com/wp-content/uploads/2024/01/wood-26-335x220.jpg)

![How to remove white spots from wood furniture? [10 super-easy methods] How To Remove White Spots From Wood : Top 10 Best Tips](https://bestwoodforcarving.com/wp-content/uploads/2023/12/wood-12-335x220.jpg)
