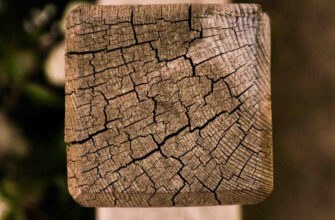
Wood stain stickiness refers to a situation where the applied wood stain fails to dry properly and remains tacky or sticky to the touch even after the recommended drying period.
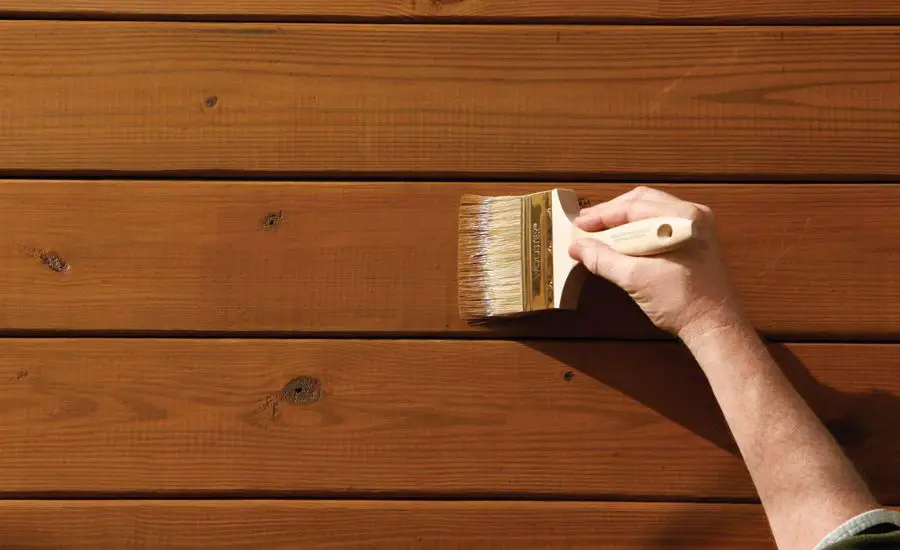
- Causes of sticky wood stain
- Inadequate surface preparation
- Environmental factors
- Improper application technique
- Effects and consequences of tacky stain
- Impact on aesthetics and finish quality
- Potential damage
- Challenges with subsequent finishing coats or sealing
- Solutions to resolve sticky stain issue
- Remedial actions for surface preparation
- Managing environmental conditions
- Correcting application errors
- How to fix sticky wood stain?
- Sanding and stripping techniques
- Chemical strippers or mineral spirits
- Apply more stain
- Conclusion
- FAQ
- Will sticky stain eventually dry?
- How long does it take for wood stain to dry?
- What happens if you don’t wipe off gel stain?
- How long does the oil-based stain take to dry?
Causes of sticky wood stain
Wood furniture stickiness can arise from various factors, primarily related to inadequate surface preparation and environmental conditions during application.
Inadequate surface preparation
Proper surface preparation is paramount for a successful wood staining project.
Inadequacies in this phase can make the wood stain remain tacky.
Residual dirt, dust, or debris: wood stains work most effectively on tidy uncontaminated surfaces.
The presence of dirt, dust, or debris in the stained wood fibers before staining can prevent the stain from properly adhering.
Even small particles can create barriers, causing the stain to dry unevenly and leave a sticky residue in certain areas.
Insufficient sanding or improper sanding techniques: inadequate sanding or skipping essential steps in the sanding process can make the stained wood sticky, as leaving it uneven or rough affects stain absorption.
Improper sanding techniques, such as using the wrong grit or not sanding with the grain, may hinder the stain’s penetration and result in a sticky residue.
Environmental factors
Environmental conditions play a significant role in the successful application and drying of a wood stain.
High humidity levels: high humidity levels in the air can impede the drying process of a wood stain.
Excessive moisture in the atmosphere slows down the evaporation of solvents present in the stain, prolonging the drying time and potentially leaving a sticky residue.
Extreme temperatures during application or drying: extreme temperatures, either too hot or too cold, can affect the proper drying of a wood stain.
High temperatures might cause the stain to dry too quickly, not allowing it to penetrate the wood properly and resulting in a tacky surface.
Conversely, extremely low temperatures can slow down the drying process, leading to prolonged stickiness of the stain.
Improper application technique
The method of applying wood stain significantly impacts its final appearance and drying characteristics.
Too much stain: applying an excessive amount of stain beyond what the wood can absorb leads to pooling and a thick layer of stain on the surface.
Applying too much stain prevents proper drying and absorption, leaving excess solvents on the surface. And all that’s left is sticky pigment after the solvents evaporate.
Using old or expired stain products: stain products have a shelf life, and using expired or old stain can cause issues with proper drying and adhesion.
Expired stains may have altered chemical compositions, affecting their ability to dry correctly and leaving a sticky residue on the surface.
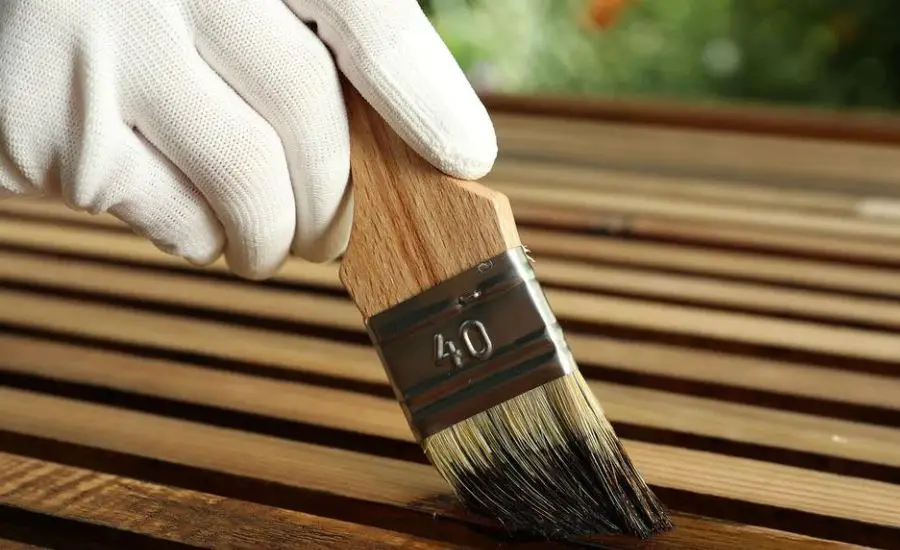
Effects and consequences of tacky stain
When wood stains remain sticky, it can result in various detrimental effects, affecting both the appearance and integrity of the surface.
Impact on aesthetics and finish quality
Uneven or blotchy appearance: sticky wood stain often leads to an irregular and patchy finish, detracting from the desired appearance of the wood.
Diminished color clarity: the stickiness may cause the stain to appear dull or muddy, obscuring the natural beauty and richness of the wood grain.
Potential damage
Adhesion issues: a sticky stain may fail to properly adhere to the surface, causing it to peel or flake off over time.
Trapping contaminants: the tacky surface can attract and trap dust, dirt, or other particles, which may become embedded in the stain, compromising the wood’s appearance.
Challenges with subsequent finishing coats or sealing
Difficulty in applying additional coats: sticky stain creates problems when attempting to apply subsequent layers of finish or sealer, leading to an uneven or blemished final coat.
Compromised protection: the stickiness can interfere with the proper bonding of protective coats, potentially reducing the wood’s protection against moisture, UV rays, and wear.
Solutions to resolve sticky stain issue
Addressing sticky stain issues involves implementing corrective measures that target the underlying causes.
Remedial actions for surface preparation
Thorough cleaning and removal of debris: use appropriate cleaning agents and methods to remove dirt, dust, and other debris from the surface before staining.
Proper sanding techniques and grit selection: use suitable sandpaper grits and techniques to ensure the surface is adequately smoothed and prepared for staining.
Managing environmental conditions
Controlling humidity levels: use dehumidifiers or air conditioning to regulate indoor humidity levels during staining to prevent excessive moisture that can hinder drying.
Stain wood in environments with optimal humidity levels recommended for the specific stain product.
Optimal temperature considerations during application and drying: apply wood stain at moderate temperatures within the range specified by the product instructions to facilitate proper drying.
Avoid staining in extreme temperatures that might impede the stain’s ability to dry effectively.
Correcting application errors
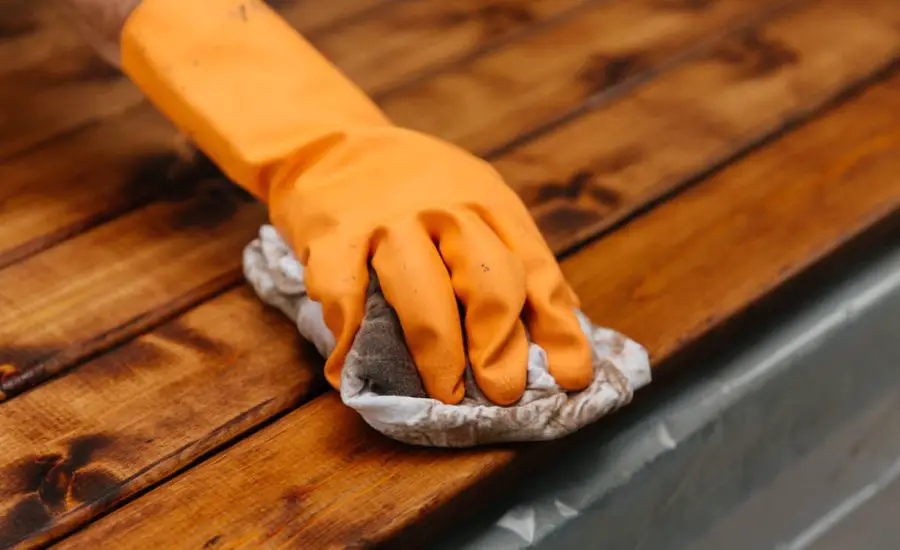
Removing excess stain: use a clean cloth or rag to gently wipe off excess stain immediately after application to prevent pooling and stickiness.
If the stain has already dried, lightly sand the surface to remove the excess or uneven layers.
Using fresh, quality stain products: ensure the stain product used is within its recommended shelf life and hasn’t expired.
Choose high-quality stains appropriate for the wood type to ensure proper adhesion and drying.
How to fix sticky wood stain?
When faced with a sticky wood stain, corrective actions are necessary to fix sticky wood stain and achieve the desired outcome.
These steps involve addressing the existing stain issue and reapplying the stain correctly.
Sanding and stripping techniques
When trying to fix sticky wood stain, sanding off the affected layer is a common and effective approach to fix sticky stain.
Steps for sanding off the sticky layer:
- Assess the affected area: identify the regions where the wood stain remains tacky or sticky. This evaluation helps to focus on specific areas that require sanding.
- Select appropriate sandpaper: use fine-grit sandpaper, such as 180 to 220 grit, to gently sand the surface. Start with a lighter grit and progress to finer grits if necessary, ensuring a smooth finish.
- Sand with care: use light pressure while sanding to remove the sticky layer without damaging the surface underneath. Sand in the direction of the wood grain to avoid creating scratches or uneven spots.
- Clean the surface: after sanding, wipe away the sanding residue with a clean, dry cloth or vacuum to remove any loose particles or dust. Ensure the surface is clean and smooth before proceeding.
Chemical strippers or mineral spirits
In instances where the sticky wood stain persists or if the stain has deeply penetrated the wood, chemical strippers can be used to effectively remove stubborn layers of stain and fix sticky stain.
Steps for using chemical strippers to fix sticky stain:
- Choose the appropriate product: select a quality chemical stripper or paint thinner (mineral spirits are preferable) suited for the type of wood and the stain you are dealing with. Read and follow the manufacturer’s instructions and safety precautions.
- Test in a small area: before applying the stripper to the entire surface, test it on a small, inconspicuous area of the wood to ensure compatibility. Use rags soaked in mineral spirits to thoroughly clean everything off.
- Apply the mineral spirits: use a brush or applicator recommended by the product instructions to apply the chemical stripper evenly over the affected area.
- Remove the softened stain: once the stripper has loosened the stain, use a scraper or a rag to gently remove the softened layers of stain. Work carefully, ensuring not to gouge or damage the surface.
- Clean and neutralize: after removing the stain, thoroughly clean the surface with a damp cloth and a suitable solvent or water as per the product instructions to neutralize the stripper and remove any residue. Allow the wood to dry completely before proceeding with re-staining.
Apply more stain
After addressing the sticky wood surfaces issue, proper reapplication of the stain is crucial to achieve an even and durable finish.
Using appropriate stain application techniques and selecting the right stain for the wood type is essential for preventing stickiness recurrence and ensuring a successful staining process.
Choosing the right stain (a water-based stain or oil-based stains) for the wood type:
- Consider wood type and porosity: select a stain product that is suitable for the specific type of wood you are staining. Different woods absorb stains differently due to variations in their porosity and grain structure.
- Water-based stains vs. oil-based wood stains: assess the advantages and characteristics of water-based stains and oil-based stains. Water-based stains dry faster and emit fewer fumes, while oil-based stains typically provide richer color and better penetration. Be sure not to apply too much stain: when oil-based stains dry, they may leave a sticky pigment residue on the surface.
- Transparency and color: decide on the desired transparency level (clear, semi-transparent, or opaque) and color intensity that best complements the wood’s natural features while achieving the desired aesthetic appeal.
- Quality and compatibility: opt for high-quality stain products from reputable brands that are compatible with the wood type and other finishing products you may use, such as sealers or topcoats.
Proper application methods to avoid stickiness recurrence:
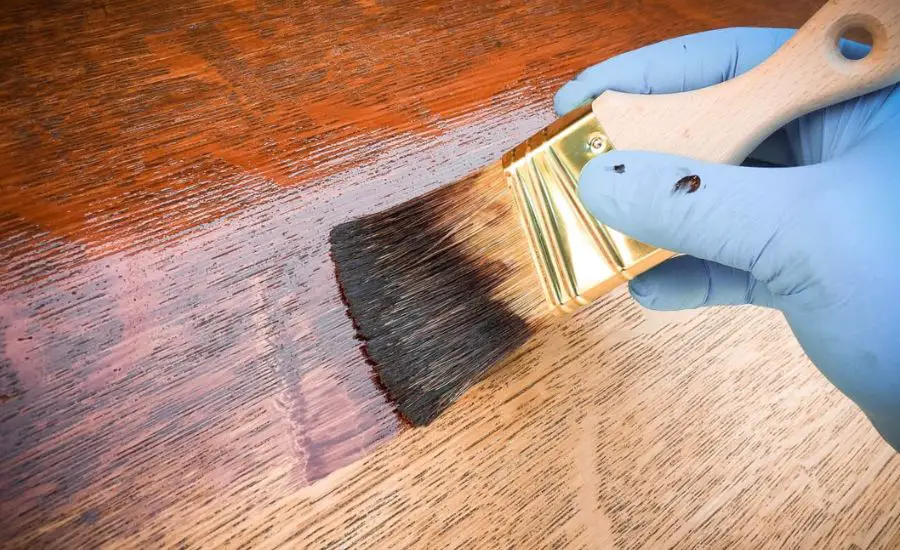
- Thin and even application: apply more stain in thin, even coats using a brush, cloth, foam applicator, or sprayer. Avoid excessive application that leads to pooling or dripping, which can result in sticky residue.
- Allow proper absorption time: after applying the stain, allow sufficient time for the wood to absorb the product. Avoid overloading the wood surface with stain, as this can hinder drying and result in stickiness.
- Wipe off excess stain: after applying the stain, use a soft cloth to wipe off any excess stain. This step helps in achieving an even application and prevents the buildup of excess stains that could contribute to stickiness.
- Follow the manufacturer’s recommendations: adhere to the specific instructions provided by the stain manufacturer regarding application techniques, drying times, and the number of coats required. Different stains may have varying application requirements to achieve the desired finish.
Conclusion
By applying these strategies and understanding the importance of proper staining techniques, woodworkers and enthusiasts can overcome challenges associated with a sticky wood stain, ensuring a professional and long-lasting finish that highlights the natural beauty of wood furniture.
FAQ
Will sticky stain eventually dry?
The sticky stain might eventually dry, but it depends on the cause.
Proper conditions and addressing underlying issues improve the chances of drying.
How long does it take for wood stain to dry?
Drying times vary based on stain type (oil-based stain, gel stain, or water-based stain), wood, and environmental conditions.
Generally, it takes 24-48 hours for the wood stain to dry completely.
What happens if you don’t wipe off gel stain?
Not wiping off excess gel stain can lead to uneven or blotchy finishes, excess build-up, and longer drying times.
Wiping off gel stains ensures a more uniform appearance.
How long does the oil-based stain take to dry?
The drying time for the oil-based stain typically ranges from 8 to 24 hours. Oil-based stain drying time can vary based on factors such as humidity, temperature, and the specific brand or formulation of the oil-based stain.

![How to Use a Countersink Bit? [A 10-Step Guide] How To Use A Countersink Bit: Top 10 Steps & Best Guide](https://bestwoodforcarving.com/wp-content/uploads/2024/07/wood-55-335x220.jpg)



![What is a Wood Planer? [4 Types of Wood Planers] What Is A Wood Planer: Best Helpful Guide & Top Review](https://bestwoodforcarving.com/wp-content/uploads/2023/12/What-is-a-Wood-Planer-335x220.jpg)

